
How to use the Custom Dashboard
The Custom Dashboard is your build-your-own reporting view in Hiro — pull the metrics that matter to you into a layout you control, then share it with your clients as a link. This walkthrough covers what's new in 2.0, how to build and edit a dashboard, how to add notes, and how to share it with clients.
Where to find it
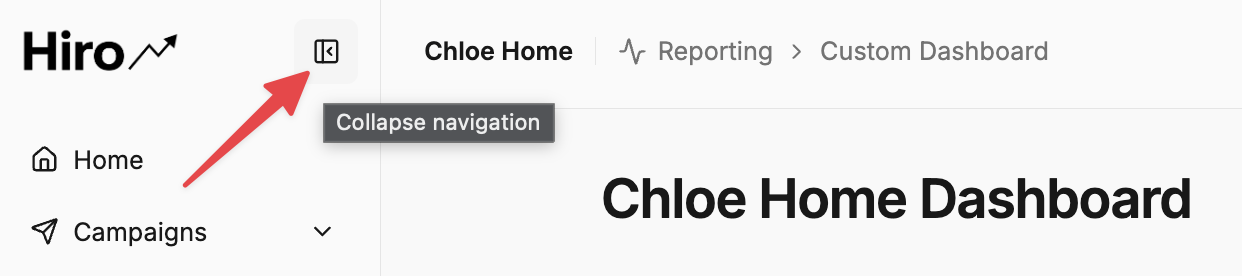
The Custom Dashboard lives under the Reporting tab in the left-side navigation. You can collapse the navigation to give the dashboard more room once you're in it.
What's new in 2.0
The biggest change: the Custom Dashboard is no longer a single page. You can now add multiple tabs to break your reporting up by area of your retention marketing program — for example, one tab for revenue, one for campaigns, one for retention.
All clients that were on the Hiro 1.0 Custom Dashboard template have been auto-migrated to the new Hiro Default Custom Dashboard template. If you had customized a client's dashboard, those customizations were carried over — you won't lose any work.
Importing the new multi-tab template
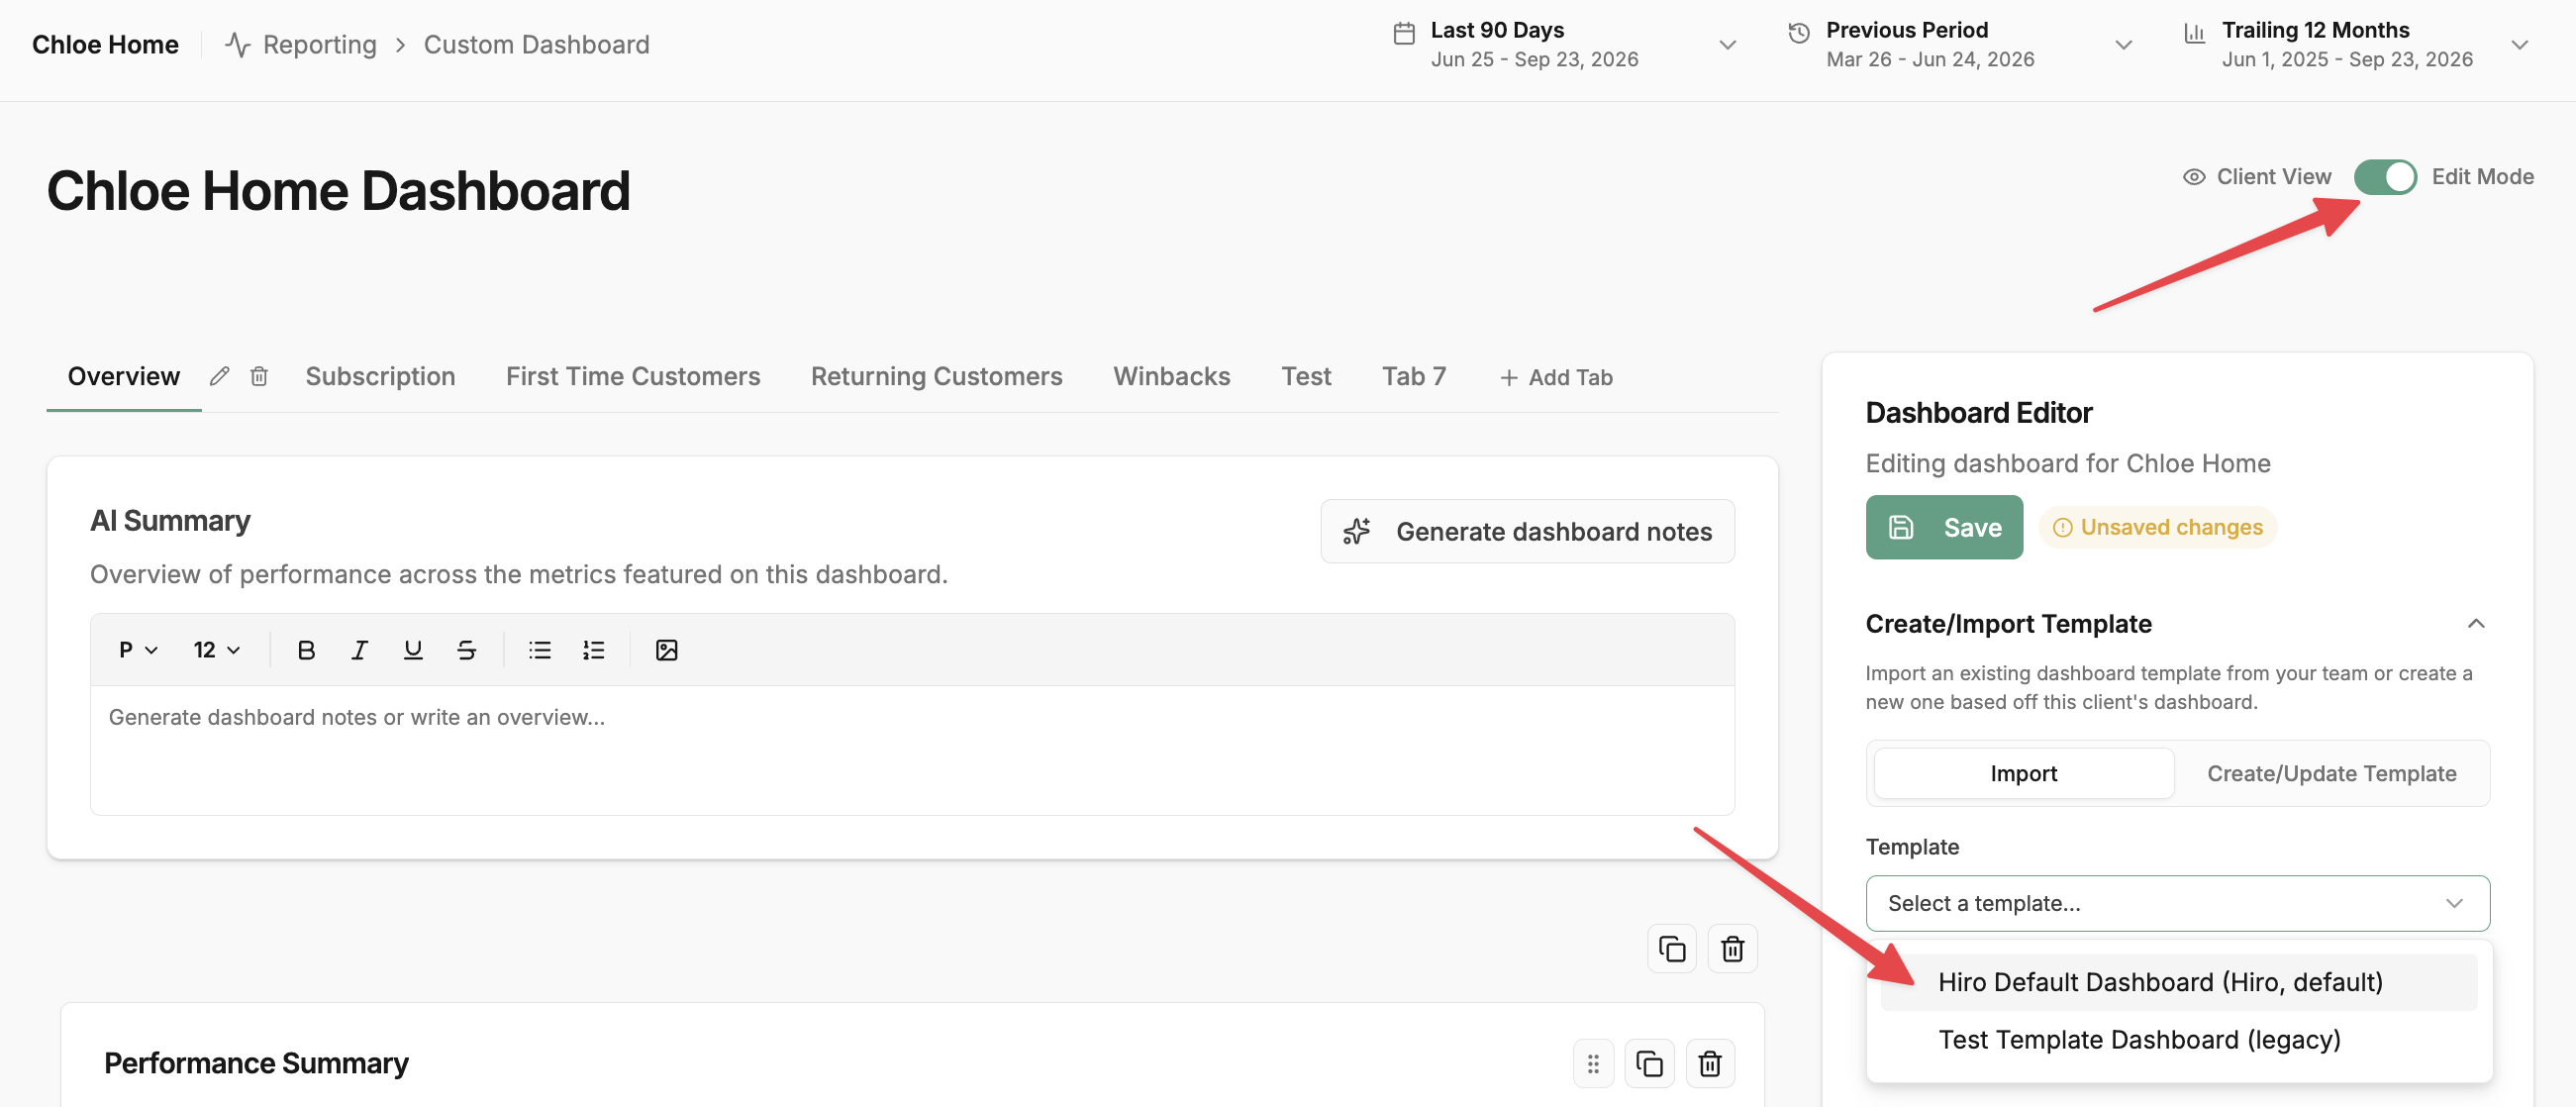
If you want to pull the new Hiro Default multi-tab template into a client:
Open the Custom Dashboard for that client, toggle on Edit Mode
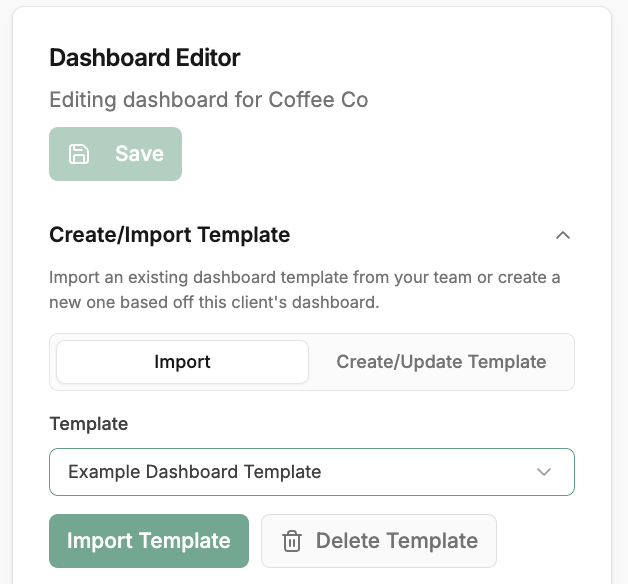
Under Create/Import Template, click Import
From the template dropdown, choose Hiro Default Dashboard, (Hiro Default)
Confirm the import. The new multi-tab template will load into that client's dashboard.
Building and editing a dashboard
Open Edit mode to start changing the layout. The dashboard is made up of cards arranged into sections, and you control the structure with three layout options:
One-card section — a single full-width card
Two-card section — two cards side by side
Three-card section — three cards side by side
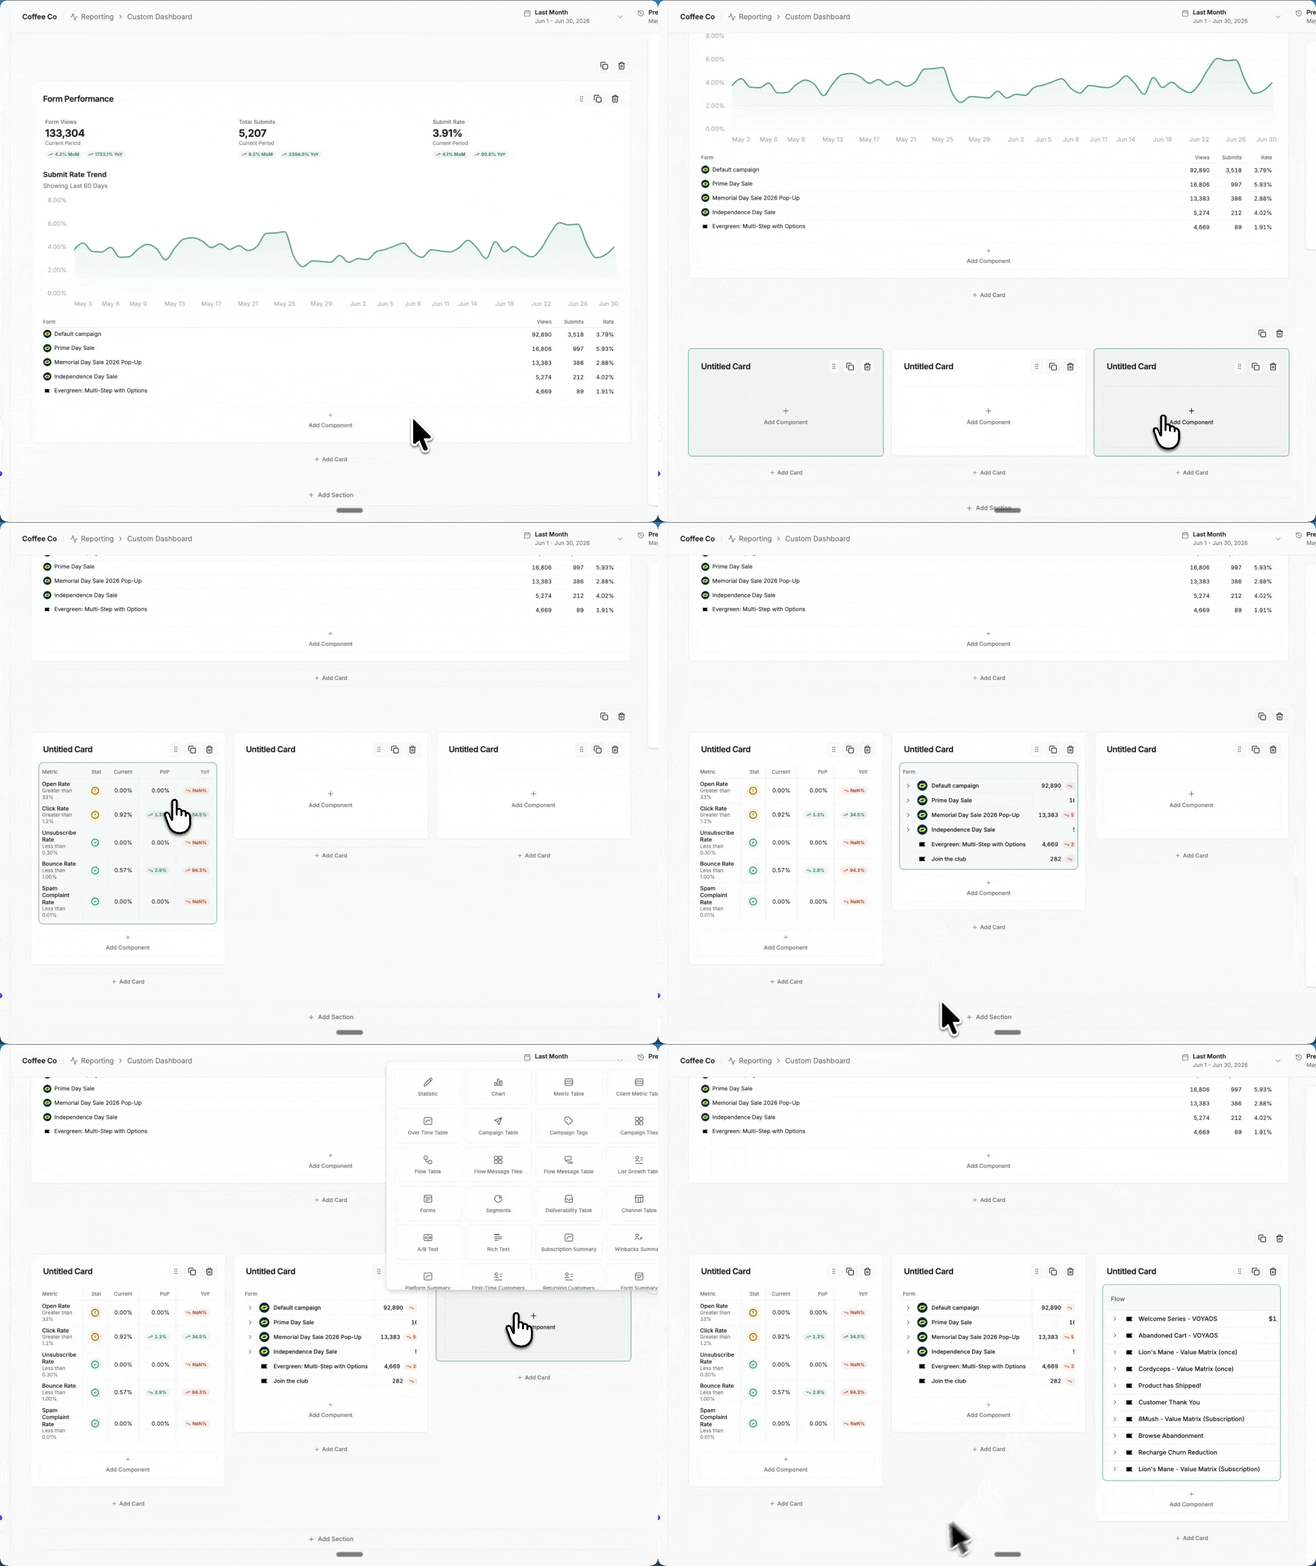
Select the Add Section button
Pick the layout you want (one, two, or three cards)
The layout you select here will determine how the cards are displayed and you can add more cards into that section
Inside the new section, click into the card and select Add Component
The component picker opens, showing every widget available to you.
Writing dashboard notes
You can now write notes directly on the dashboard for your client to see — similar to the notes feature in the Report Generator.
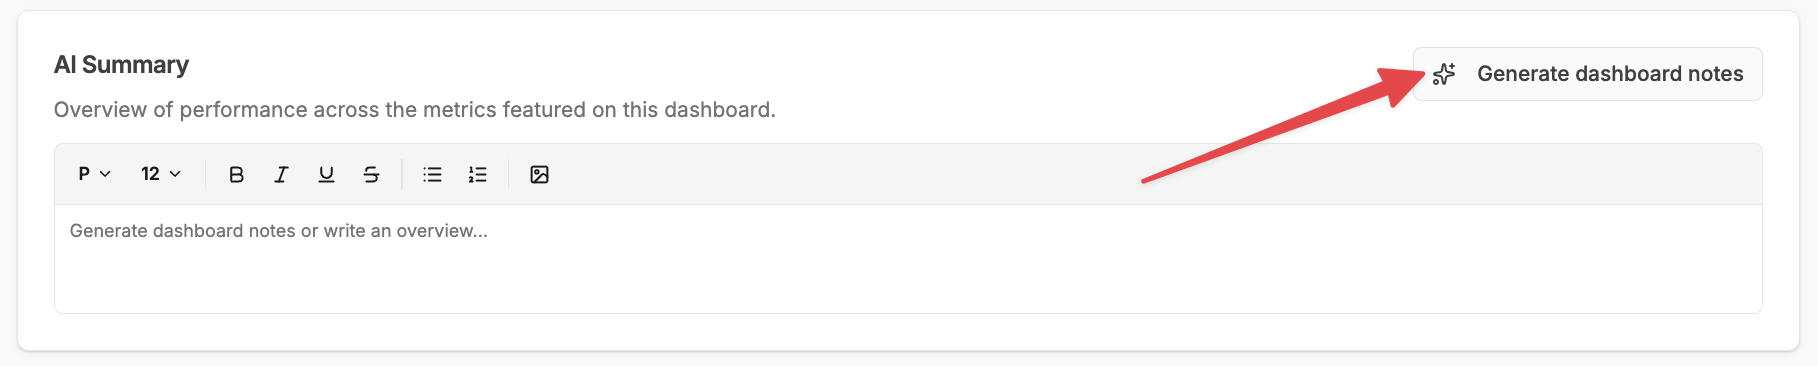
Manual notes: type your key takeaways into the text box.
AI-generated notes: select Generate Dashboard Notes to get an AI summary of what happened on the dashboard. You can edit the text and change the formatting after it generates.
Locking dates to your notes (recommended)
If you're writing notes for a specific period — for example, the month of June — turn on Lock dates for this client before saving. This pins the dashboard to that time period so your notes always match what the client is looking at. The client won't be able to change the dates, which keeps the notes relevant.
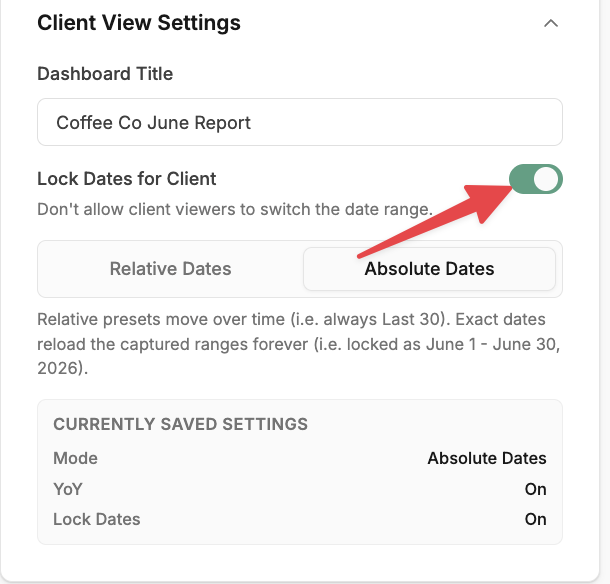
If you'd rather keep the dashboard flexible so the client can change the time periods and comparison periods themselves, leave that toggle off. When the client logs in, they'll have control over the dates they're viewing.
Previewing as a client
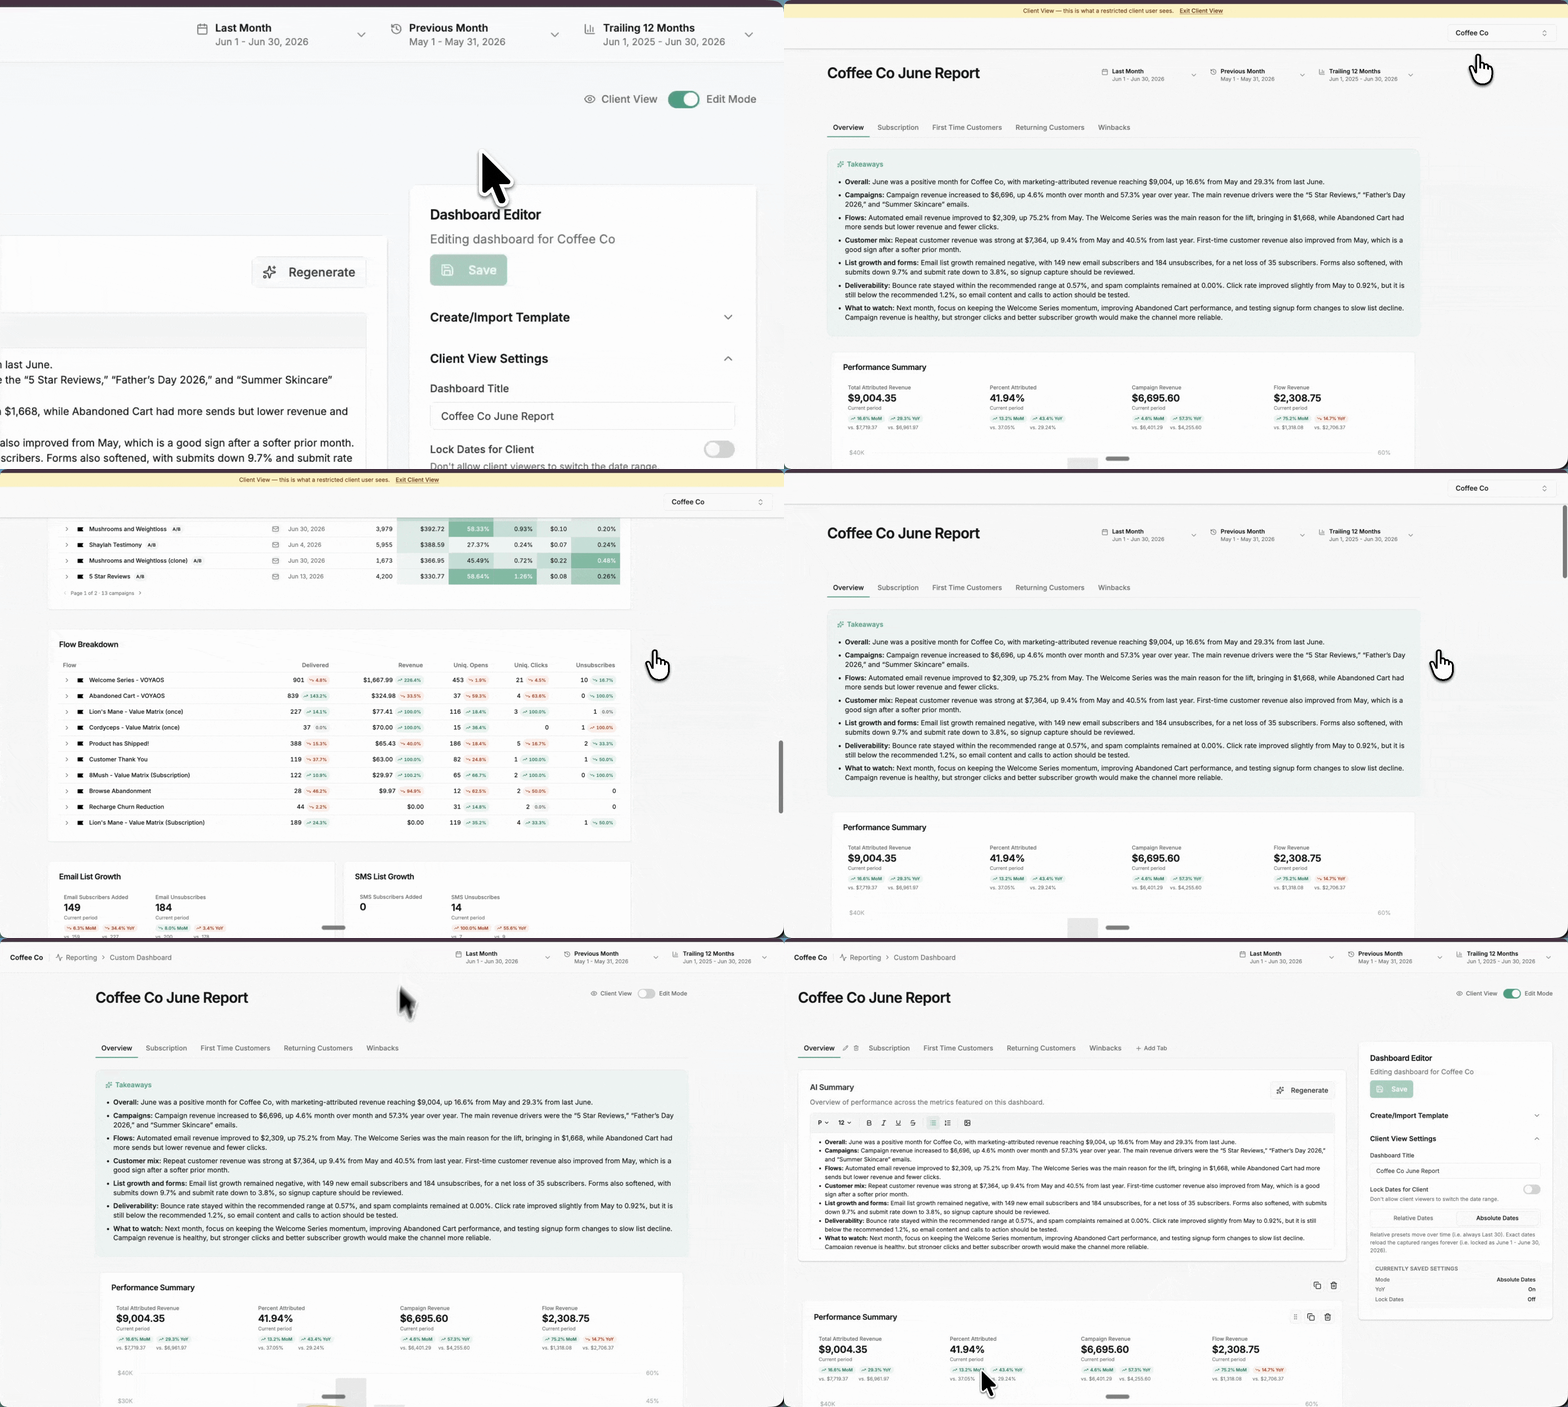
Select Client View to preview what the dashboard would look like once the client logs in.
Saving a dashboard as a template
Once you've built a dashboard you want to reuse across your agency or apply to other clients, save it as a template:
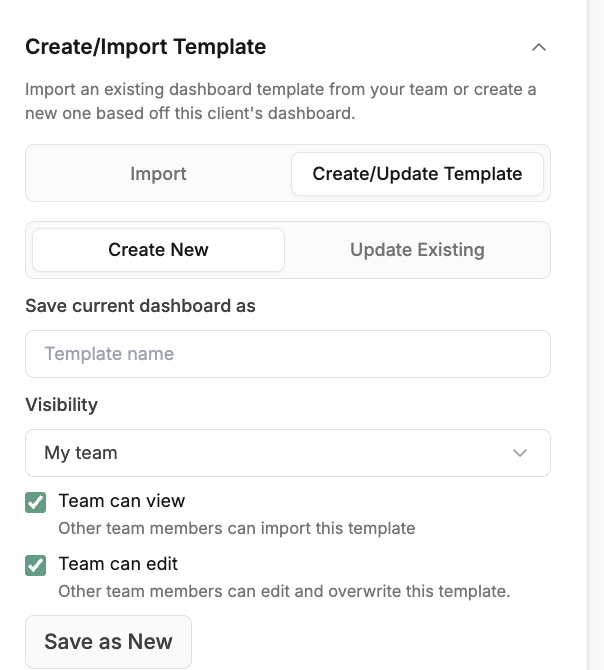
Select Create/Update Template → Create New
Name the template
Choose whether other team members can view and edit the template
Select Save as New. The dashboard is now saved as an agency-level template.
To apply it elsewhere, open a client's dashboard, select Import, and pick your saved template from the dropdown.
Updating an existing dashboard template
When you've edited a dashboard and want those changes reflected in a template your team already uses, you can update the existing template in place.
Select Create/Update Template → Update Existing
Pick the template you want to update from the dropdown
Choose whether other team members can view and edit the updated template
Select Update. The template is overwritten with your new changes and replaces the previous version
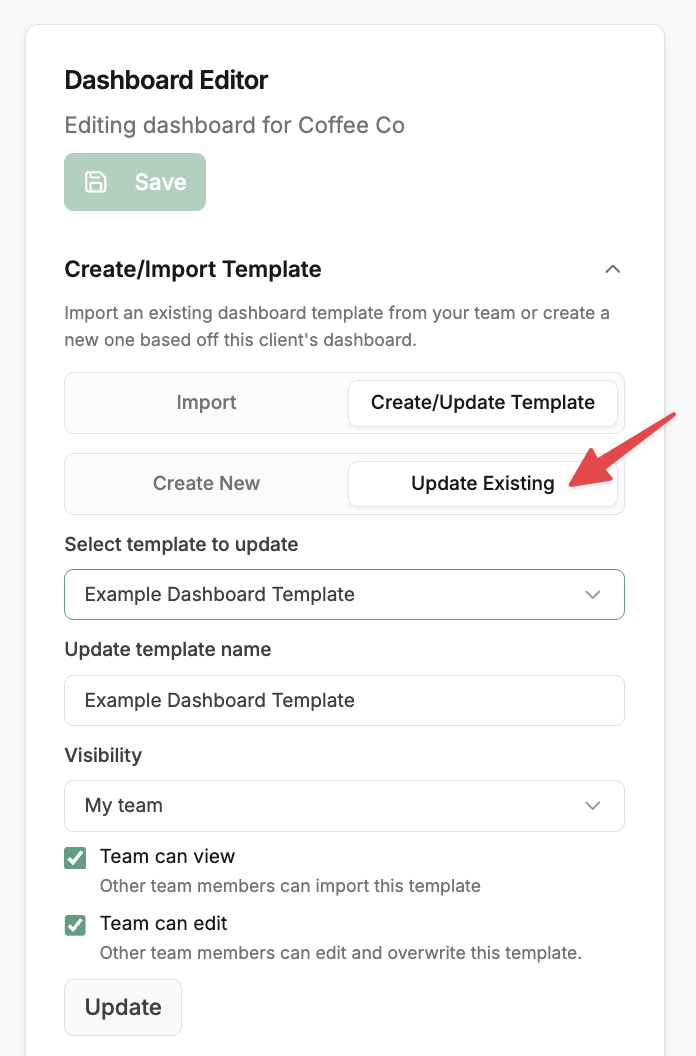
One important thing to note: updating a template does not automatically push those changes to clients who already had the previous version applied. You'll need to manually import the updated template into each of those clients for them to see the new version.
Sharing with clients
To invite a client: go to Manage Account → Client Access tab, click Invite Client User, and enter their email and select the appropriate access level and client listing.
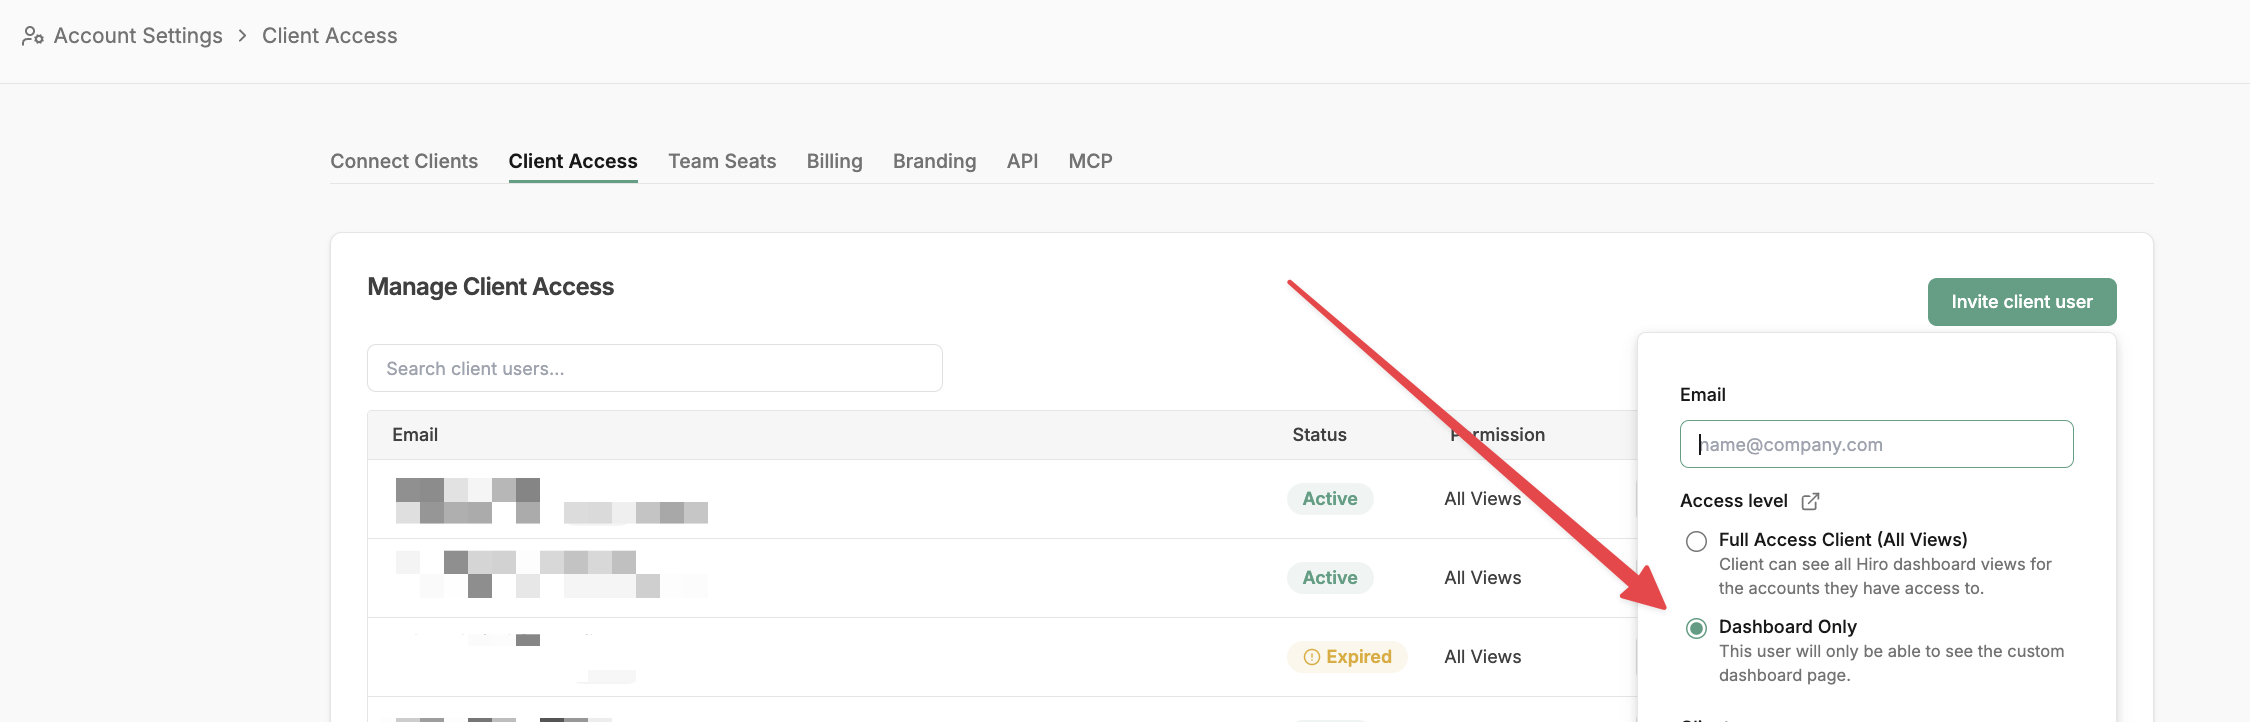
There are two access levels:
Access Type | What They Can See |
Full Access Client (All Views) | The client user can see all Hiro dashboard views for the accounts they have access to. The client user will not be able to see any Agency views that show other client listings, the account billing pages, or the Report Generator. |
Dashboard Only | The client user will only be able to see the custom dashboard page. |
After sending the invitation, the client will appear in your list with the status Invited until they accept. You can modify access at any time.
Need Help?
If you need assistance creating or customizing a dashboard, reach out via your dedicated Slack support channel or help@hiroanalytics.com and our team will help you get set up.